What Is the Best Gluten Free Biscuit Recipe?
Why Gluten Free Baking Works Differently
When you start baking without gluten, everything you knew about dough changes. Gluten is the protein network that gives traditional bread its stretch and biscuits their flakiness. Removing it requires a thoughtful blend of alternative flours, binders, and precise techniques. Without that understanding, your biscuits can turn out dense, gritty, or crumbly.
According to a 2023 report by Grand View Research, the gluten free products market is expanding rapidly as more home bakers seek trusted recipes. That growth has fueled innovation in flour blends, making it easier to achieve textures that rival wheat based counterparts. However, the right recipe is still the backbone of your success.
For a deeper dive into ingredient swaps that work, our Ultimate Gluten Free Guide: Foods, Substitutes & Living Well Without Gluten covers everything from flours to binders.
“Gluten free baking is a science, but once you understand the rules you can break them deliciously. Cold fat and a light hand are non negotiable.”
Katarina Cermelj, author of Baked to Perfection
The Role of Multiple Flours and Starches
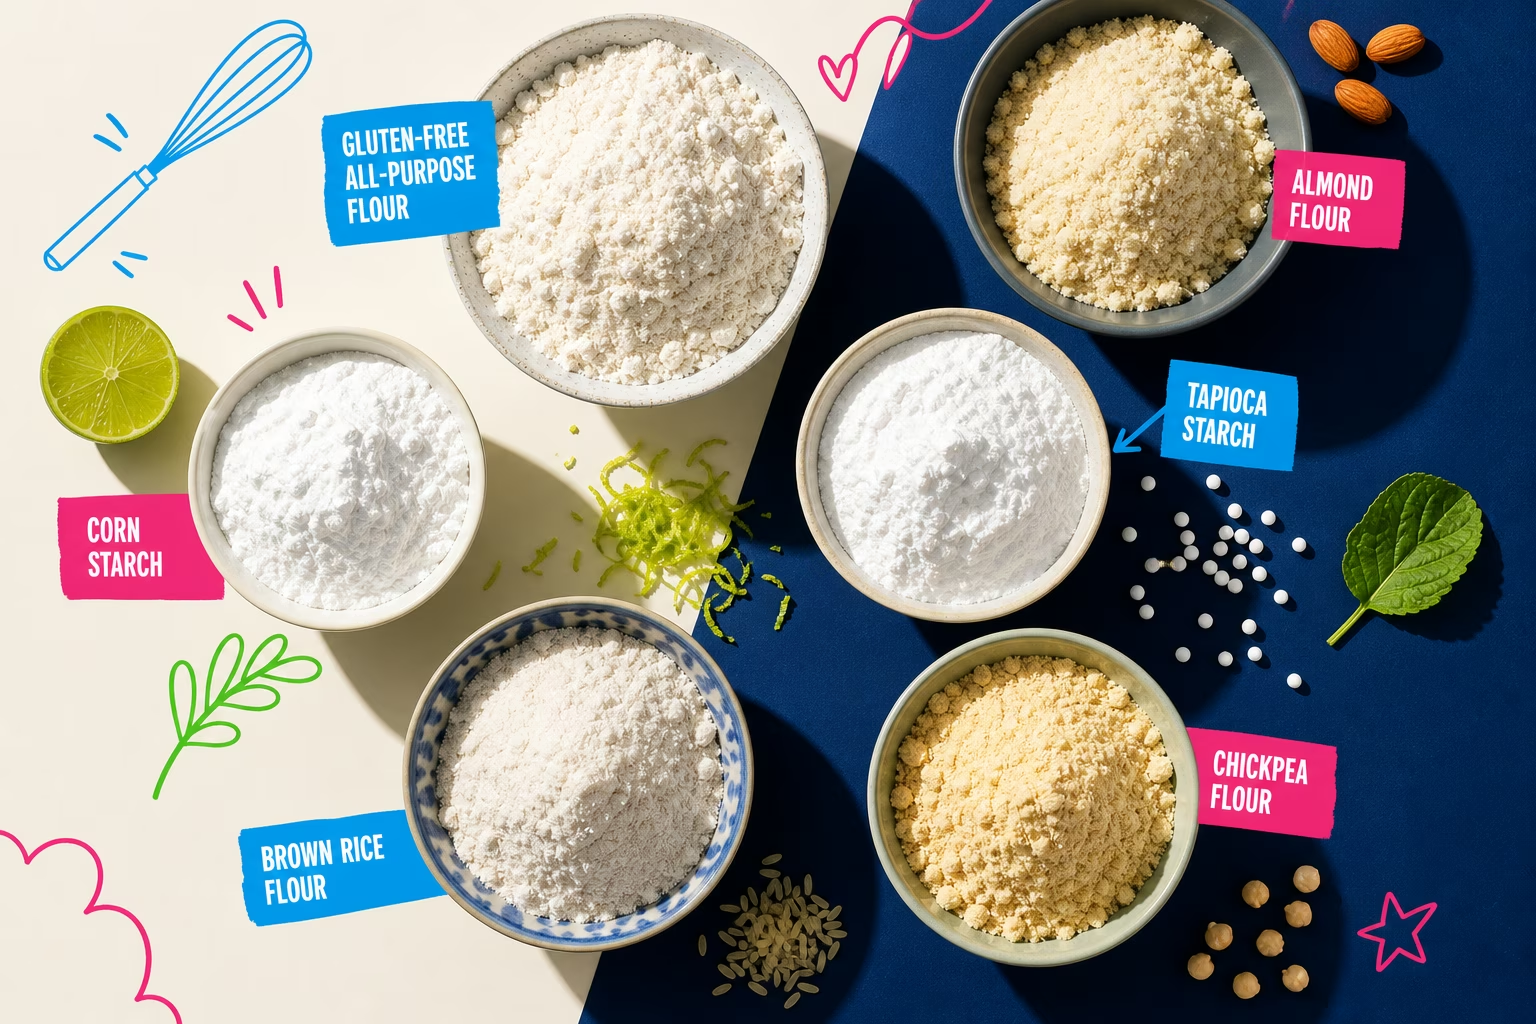
No single gluten free flour can replicate wheat. A well stocked pantry usually combines whole grain flours like sorghum or brown rice with starches such as tapioca and potato starch. This combination gives you structure, tenderness, and a bit of chew. Many off the shelf blends follow this model, but making your own lets you control flavor and texture.
The Celiac Disease Foundation notes that using a blend of at least three flours and starches significantly improves baked good quality. When you see a gluten free biscuit recipe that calls for a single flour, be cautious: it likely won’t give you the lift and flakiness you crave.
Hydration and Fat Ratios
Gluten free doughs often need more liquid because the starches absorb more moisture. But that extra hydration has to be balanced with fat. In biscuits, cold butter or shortening creates steam pockets during baking, which separate the layers. If your dough is too wet, those layers won’t form; too dry, and you get a scone like crumb.
The key is to watch the dough, not just the clock. When you mix your wet and dry ingredients, stop as soon as everything comes together. Overworking can damage the delicate fat distribution and make biscuits gummy.
How to Make Flaky Gluten Free Biscuits
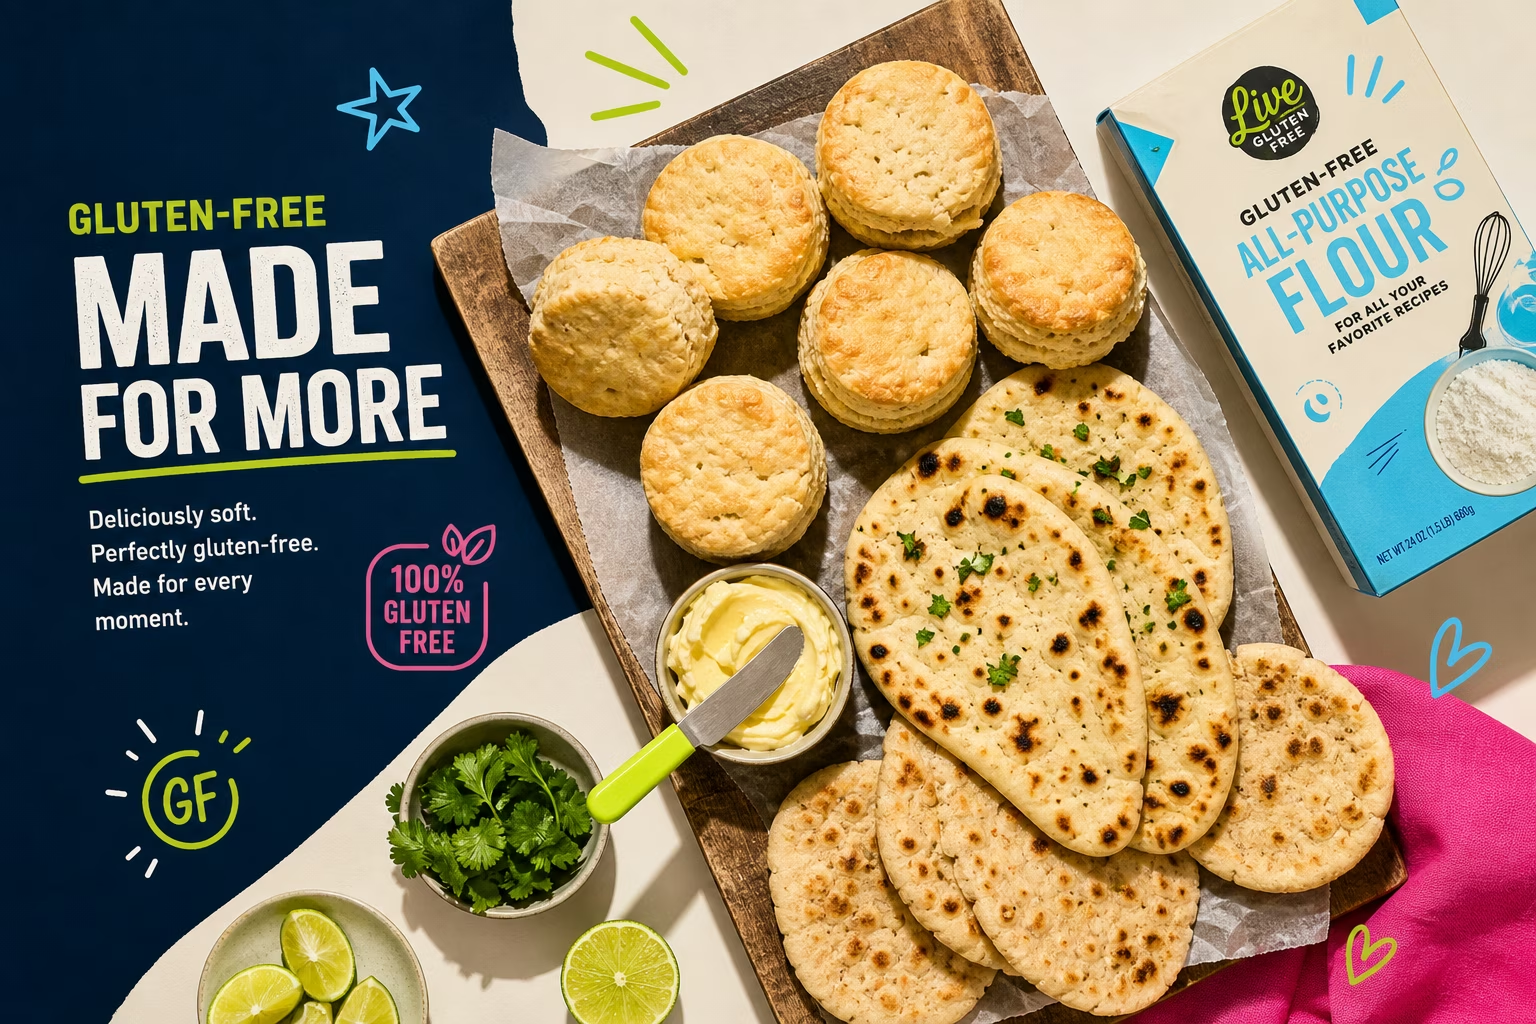
Now that you know the background, let’s walk through a step by step gluten free biscuit recipe that delivers tall, tender biscuits every time. This recipe uses a buttermilk base for tang and tenderness, but you can adapt it for dairy free or vegan versions later in the article.
“I always tell people to freeze the butter and grate it into the flour. It’s the easiest way to get those thin shards of fat that melt into irresistible layers.”
Nicole Hunn, author of Gluten Free on a Shoestring Bakes Bread
Choosing the Right Gluten Free Flour Blend
Your flour base matters more than any other step. For this gluten free biscuit recipe, use a high quality cup for cup blend that contains xanthan gum or add it separately. If you prefer making your own, combine 1 cup brown rice flour, ½ cup sorghum flour, ½ cup tapioca starch, and ½ cup potato starch with 1 teaspoon xanthan gum. This mix mimics all purpose wheat flour and has enough protein to support a good rise.
Many bakers ask about gluten free canned biscuits as a shortcut. While some store brands offer passable options, they often lack the buttery flakiness of homemade. Once you taste a fresh batch, you may never go back.
The Secret to Cold Fat
Cold butter isn’t just a suggestion; it’s the secret to flaky layers. You’ll want to cut your butter into small cubes and chill them in the freezer for 10 minutes before using. Another trick is to grate frozen butter directly into the flour mixture using a box grater. This distributes the fat in tiny, uniform pieces that melt quickly in the oven, creating steam and light pockets.
Combine this with ice cold buttermilk (or a dairy free alternative) and work quickly. If your kitchen is warm, pop the bowl of flour and butter into the refrigerator for a few minutes between steps.
Shaping and Cutting for Maximum Rise
After you bring the dough together, turn it onto a lightly floured surface and pat it into a rectangle about 1 inch thick. Fold it in thirds like a letter, then rotate and pat it out again. Do this folding step two or three times to build invisible layers. Finally, use a sharp biscuit cutter pressed straight down and do not twist. Twisting seals the edges and prevents a full rise.
Place the biscuits close together on a parchment lined baking sheet. The proximity helps them support each other as they puff upward. A brush of melted butter on top gives a golden, crisp crown straight from the oven.
Gluten Free Naan Bread From Scratch
Naan is a soft, bubbly flatbread that has become a staple in home kitchens. Making gluten free naan bread at home is surprisingly simple and much more affordable than store bought versions. With yogurt, a few flours, and a hot skillet, you can have warm naan in under an hour.
The beauty of this gluten free naan recipe is its versatility. Serve it alongside curries, turn it into pizza crust, or wrap it around grilled vegetables. As we discuss in our Ultimate Gluten Free Guide, flatbreads open up a world of meal possibilities without wheat.
“Using full fat yogurt adds the tang and moisture that gluten free naan dough needs to mimic traditional bread’s chewiness.”
Jules Shepard, gluten free baking expert and author of Free For All Cooking
Mixing and Resting the Dough
Start by combining your gluten free flour blend with a little psyllium husk powder, which gives the dough more elasticity. Add yogurt, warm water, and a touch of honey. Mix until you have a shaggy dough, then let it rest for at least 20 minutes. This hydration step is critical: it allows the starches to fully absorb moisture so the naan doesn’t turn out dry or gritty.
Resting also relaxes any gums or binders, making the dough easier to handle. You’ll know it’s ready when it feels soft and slightly tacky but not sticky enough to cling to your fingers.
Cooking Method: Skillet vs. Oven
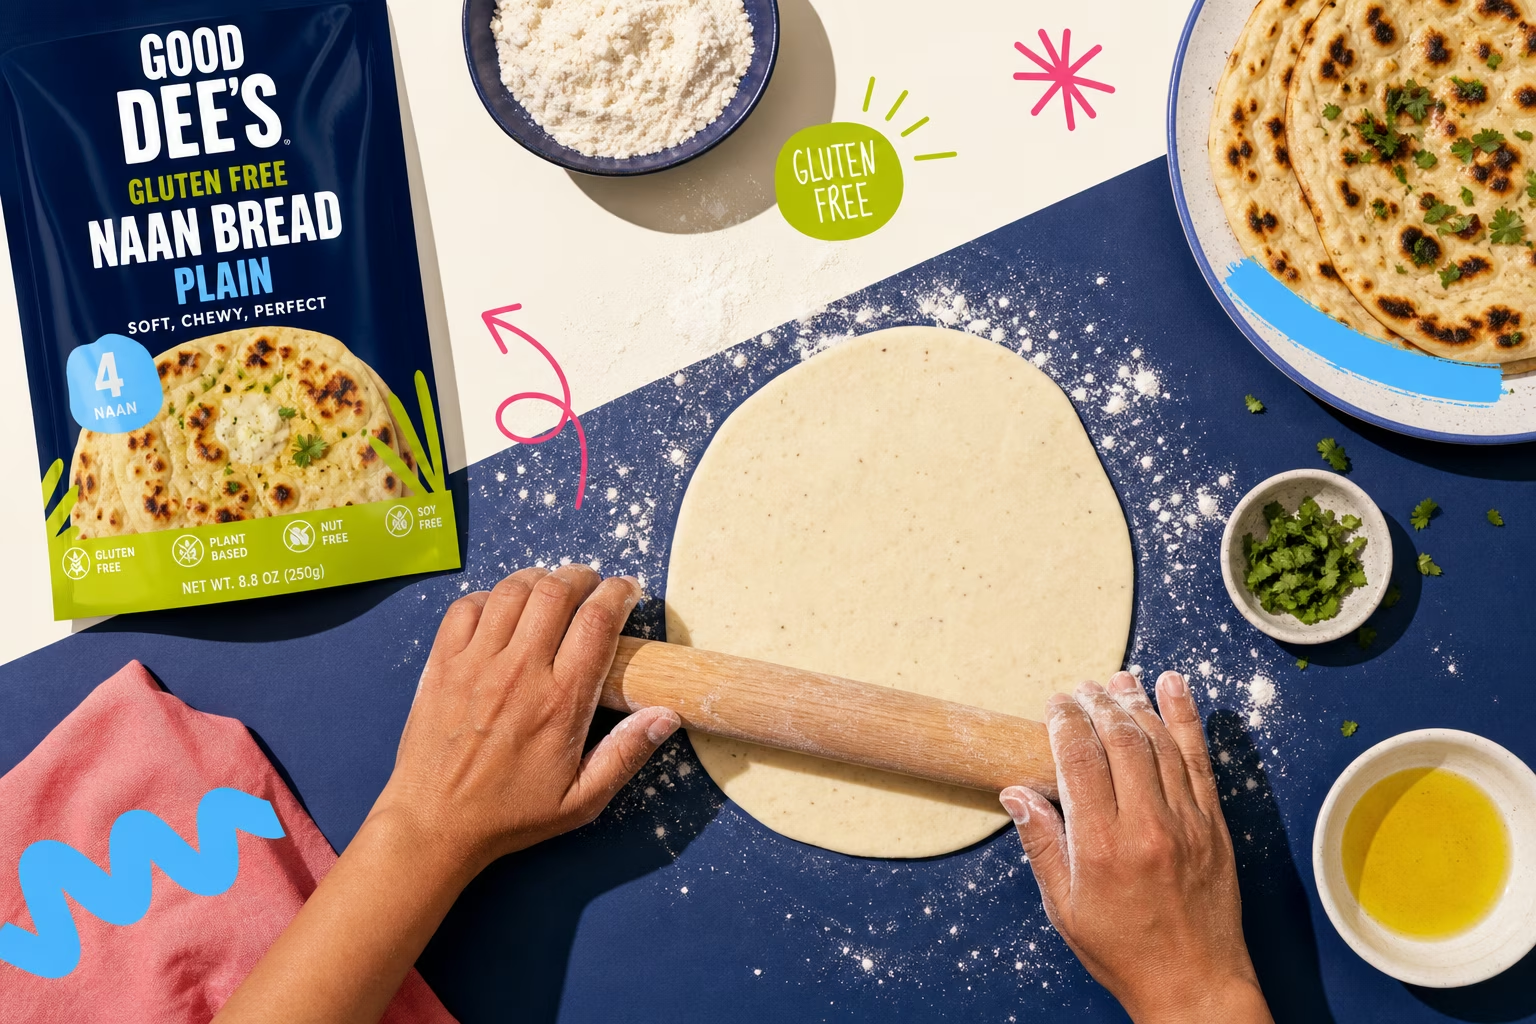
Traditionally, naan is slapped against the wall of a tandoor oven, but a cast iron skillet works beautifully at home. Heat the skillet over medium high until it’s very hot, then carefully lay a rolled out piece of dough onto the dry surface. In a minute or two, bubbles will form. Flip and cook the other side until dark spots appear.
If you prefer a softer result, you can finish the naan under a broiler for a few seconds after skillet cooking. This puffs the bread even more. Just watch closely: gluten free doughs can go from golden to burned quickly.
Flavor Variations
Plain naan is wonderful, but a few simple additions transform it. Brush the hot bread with garlic butter and sprinkle chopped cilantro on top for a classic garlic naan. To make a seeded version, press cumin seeds or nigella seeds into the dough before cooking. For a sweeter twist, add a teaspoon of cinnamon to the flour blend and drizzle with honey after baking.
Each variation is easy to prepare with the same base gluten free naan bread dough, so you can customize it to match your meal.
Easy Gluten Free Flour Tortillas
Soft, pliable tortillas are the foundation of countless meals, from tacos to wraps. Gluten free flour tortillas from the store often crack or taste like cardboard. But when you make them in your own kitchen, you get fresh, foldable tortillas that rival anything from a restaurant.
The process is straightforward: mix, rest, roll, and cook. The right balance of fat and liquid keeps them flexible even after cooling. This recipe works with most cup for cup flour blends and takes less than 30 minutes from start to finish.
“We tested dozens of combinations and found that adding a touch of xanthan gum and using warm water helps gluten free tortilla dough stretch without tearing.”
America’s Test Kitchen, The How Can It Be Gluten Free Cookbook
Dough Preparation and Resting
Combine your flour blend, salt, baking powder, and xanthan gum in a bowl. Cut in solid fat (lard, shortening, or solid coconut oil) until the mixture resembles coarse crumbs. Stir in warm water gradually until a dough forms. Knead gently for one minute, then cover and let it rest for 15 minutes. This gives the flour time to hydrate completely and makes the dough easier to roll.
Don’t skip the rest, even if you’re in a hurry. Without it, the tortillas will spring back as you try to roll them thin, leading to uneven cooking and a tough texture.
Rolling or Pressing Techniques
Portion the dough into golf ball sized pieces and keep them covered. Roll each ball between two sheets of parchment paper or plastic wrap to prevent sticking and to reduce the need for extra flour. Aim for a thin disc, about 6 inches across. If you own a tortilla press, it speeds up the process and gives you perfectly uniform rounds every time.
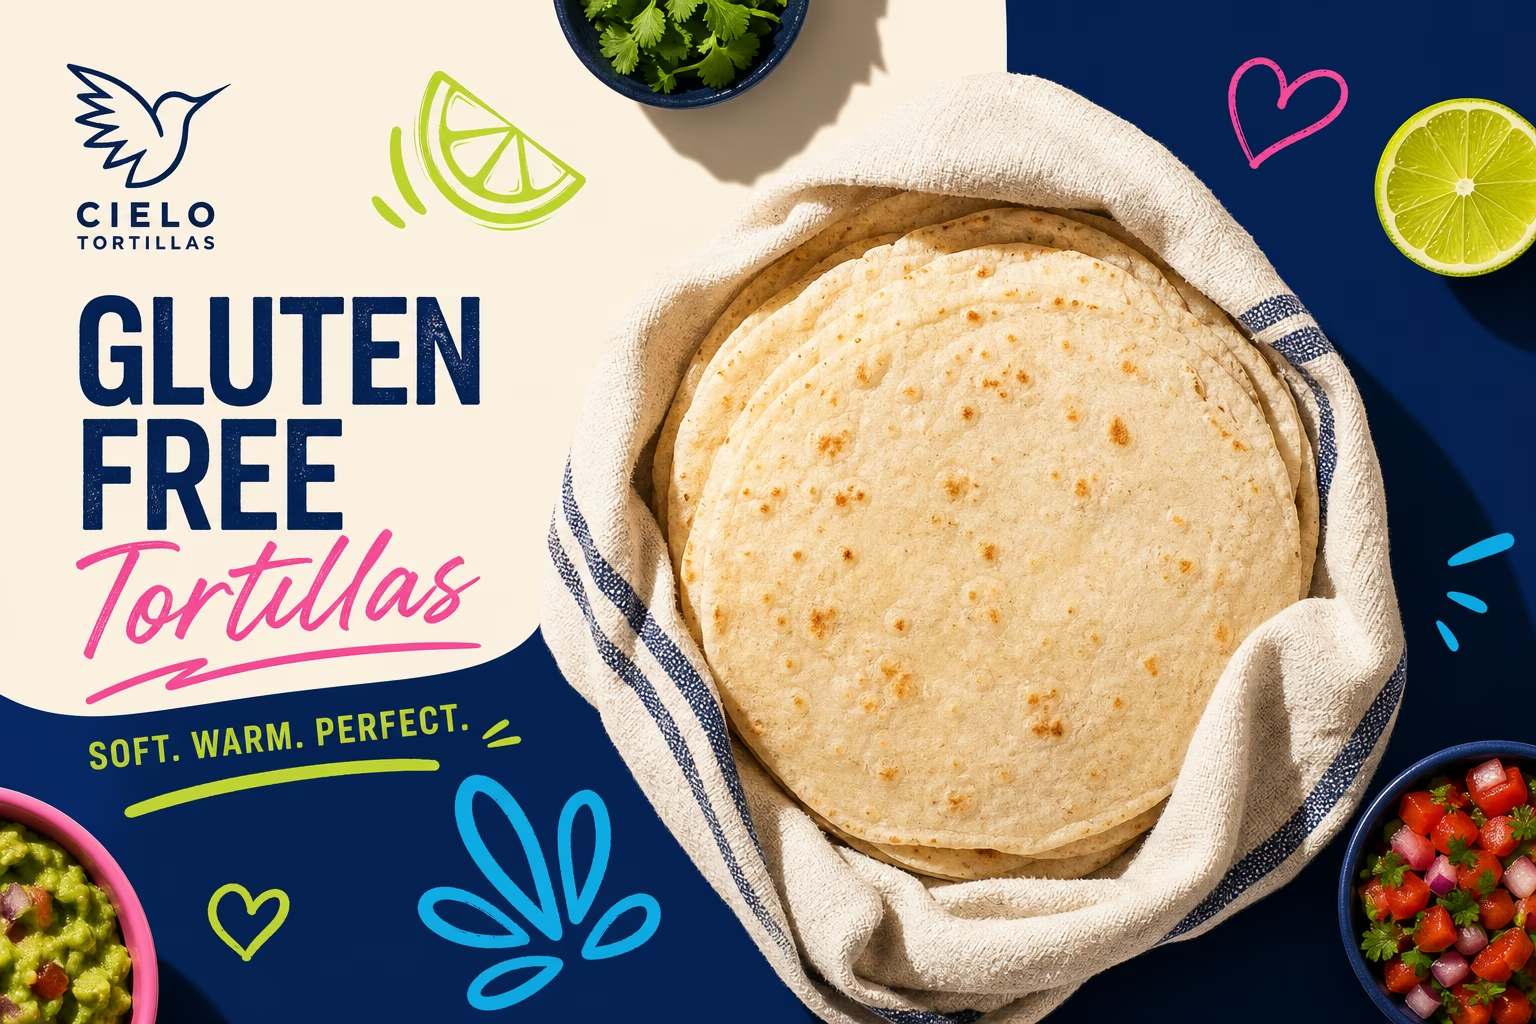
Cook each tortilla in a dry cast iron skillet over medium high heat, about 30 seconds per side, until light brown spots appear. Stack them in a clean kitchen towel to steam slightly, which keeps them soft.
Storage and Reheating
These gluten free flour tortillas store well in the refrigerator for up to five days. Place parchment between them, then seal in a zip top bag. To revive them, warm in a dry skillet for 10 seconds per side or wrap in a damp paper towel and microwave for 20 seconds. The steam restores their pliability instantly.
You can also freeze them for up to three months. This way, a homemade taco night is never more than a few minutes away.
Vegan “Buttermilk” Biscuits Inspired by KFC
For those who crave that iconic fried chicken side but eat plant based or dairy free, a vegan KFC buttermilk gluten free biscuits recipe is a game changer. These biscuits replicate the signature tangy, salty, buttery layers without any animal products. With a few clever swaps, you get a crowd pleasing side that even non vegans love.
The secret lies in the buttermilk substitute and the right seasoning blend. By mimicking the 11 herbs and spices profile, you can create a nostalgic flavor that pairs perfectly with comfort food dinners.
Making Dairy Free Buttermilk
Classic buttermilk is off the table, but you can make an excellent vegan version by stirring 1 tablespoon of lemon juice or apple cider vinegar into 1 cup of unsweetened soy or oat milk. Let it sit for 5 minutes until it curdles. This acid activates the baking powder and gives the biscuits their signature tang.
For an even richer result, use a thick, plain vegan yogurt thinned with a little water. This adds fat and acidity, much like traditional buttermilk, and helps bind the gluten free flour without eggs.
Seasoning and Folding for Layers
To capture that KFC flavor, whisk together a blend of garlic powder, onion powder, paprika, celery salt, and a pinch of dried mustard into your flour. Use solid coconut oil or vegan butter as your cold fat, following the same grating or cutting in method from earlier. Then fold the dough over itself several times to create flaky sheets.
Cut the biscuits and place them on a baking sheet, brushing the tops with extra melted vegan butter right before baking. That glossy finish is what makes them look irresistible straight from the oven.
“You don’t need dairy to get a tender, flaky biscuit. Coconut oil and a good vinegar milk work magic when combined with gluten free starches.”
Megan Gilmore, author of Everyday Detox and gluten free recipe developer
Baking Tips for a Crisp Exterior
For biscuits with a deep golden crust, bake them in a fully preheated oven at 425°F. Place the pan on the center rack and avoid opening the door for the first 12 minutes. The high initial heat creates a quick burst of steam that lifts the layers. Turn the pan halfway through and bake until they are deeply browned on top.
If you like an extra crisp bottom, bake the biscuits on a preheated pizza stone or cast iron skillet. This technique mimics the intense heat of a commercial oven and gives you that fried biscuit texture without any deep frying.
Once you master this vegan KFC buttermilk gluten free biscuits recipe, you have a versatile base that works for breakfast sandwiches, potlucks, or simply slathered with jam. As you explore more gluten free baking, don’t miss our Ultimate Gluten Free Guide for tips on flour substitutions that make every meal better.
What is the best gluten free flour blend for biscuits?
A high quality cup for cup blend that contains xanthan gum is ideal. Alternatively, you can make your own blend with brown rice flour, sorghum flour, tapioca starch, and potato starch.
How do I keep my gluten free biscuits from being crumbly?
Ensure your dough has enough moisture and fat. Using cold butter and a proper flour blend with binders like xanthan gum helps maintain structure.
Can I make these recipes vegan?
Yes, you can use vegan substitutes for buttermilk and butter. For instance, use a mixture of lemon juice and plant-based milk to replace buttermilk.
How can I store leftover gluten free naan?
Store it in an airtight container in the refrigerator for up to three days. Reheat in a skillet or oven to restore its texture.
What is the best way to reheat gluten free tortillas?
Reheat them in a dry skillet for a few seconds on each side or wrap in a damp paper towel and microwave briefly to regain their pliability.
Can I freeze gluten free baked goods?
Yes, most gluten free baked goods freeze well. Wrap them tightly and store in the freezer for up to three months. Thaw at room temperature or reheat directly from frozen.